Do you remember my awfully blue fingers from yesterday photos ? well, I will reveal now the cause .
Next a tutorial for making a crumpled paper flower punched with Stampin'Up flower blossom punch . Something different than just layering the petals one on top the other. This is how I make this flower :

punch some petals with the SU punch from white paper ( something fleshy than 80 gr/mp ) :


When you get to have just one petal by folding, start crumpling it between your fingers. Like so :


Next a tutorial for making a crumpled paper flower punched with Stampin'Up flower blossom punch . Something different than just layering the petals one on top the other. This is how I make this flower :
punch some petals with the SU punch from white paper ( something fleshy than 80 gr/mp ) :
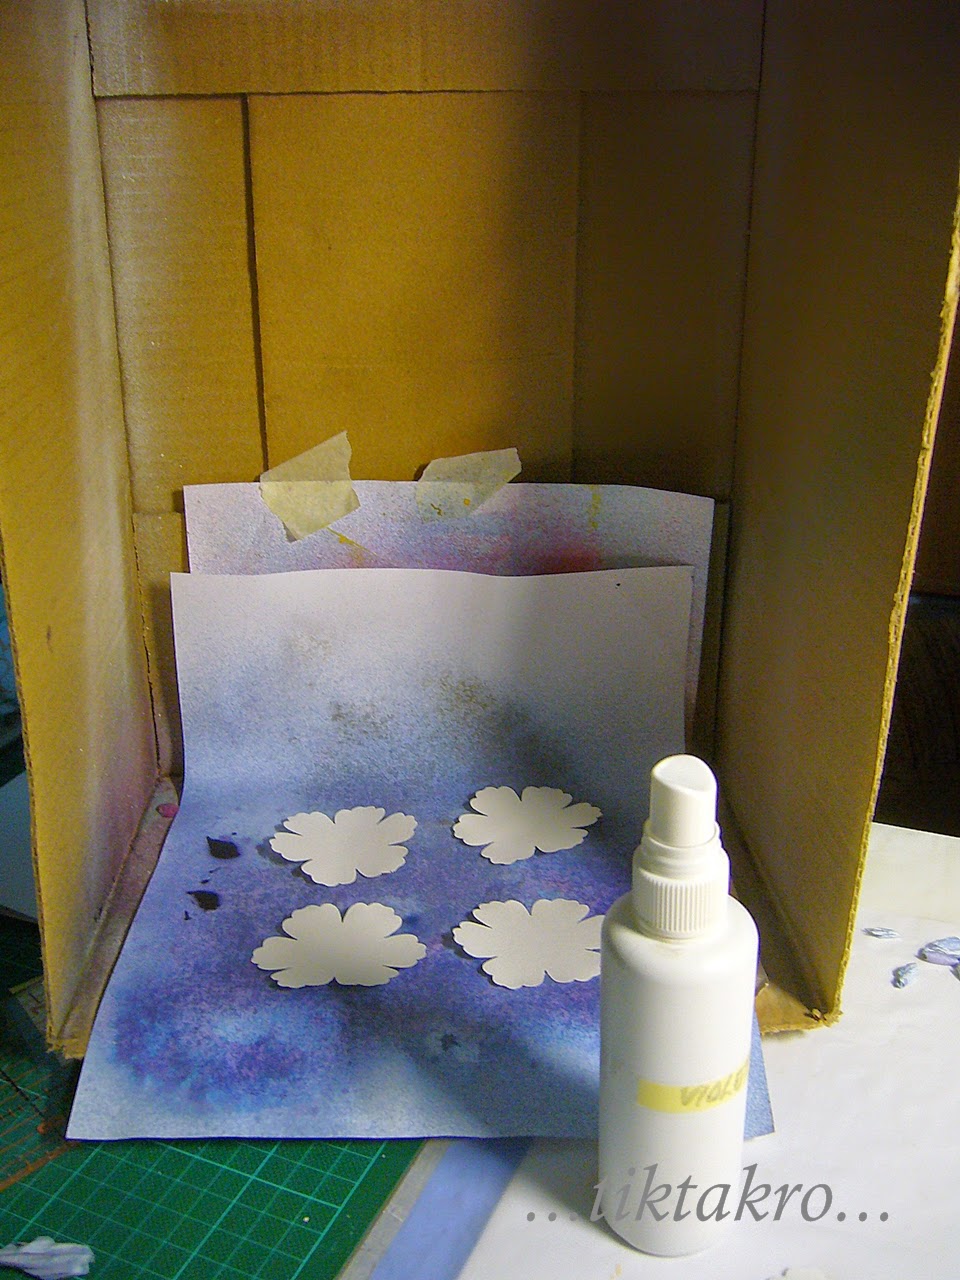
then spray them with a water-coloured mist of your choice ( mine is diy , kind of home-made LOL ) .
Use for spraying a box that will help you catch all the drops and save your worktable . Put a white paper ( or recycled one ) on the back and bottom. Later you'll can use this paper in some mixed media project or anything else that requires some crazyness in it ;) . Don't worry about the curling effect, they will become flat quickly . You have to turn the petals to spray them on both sides.
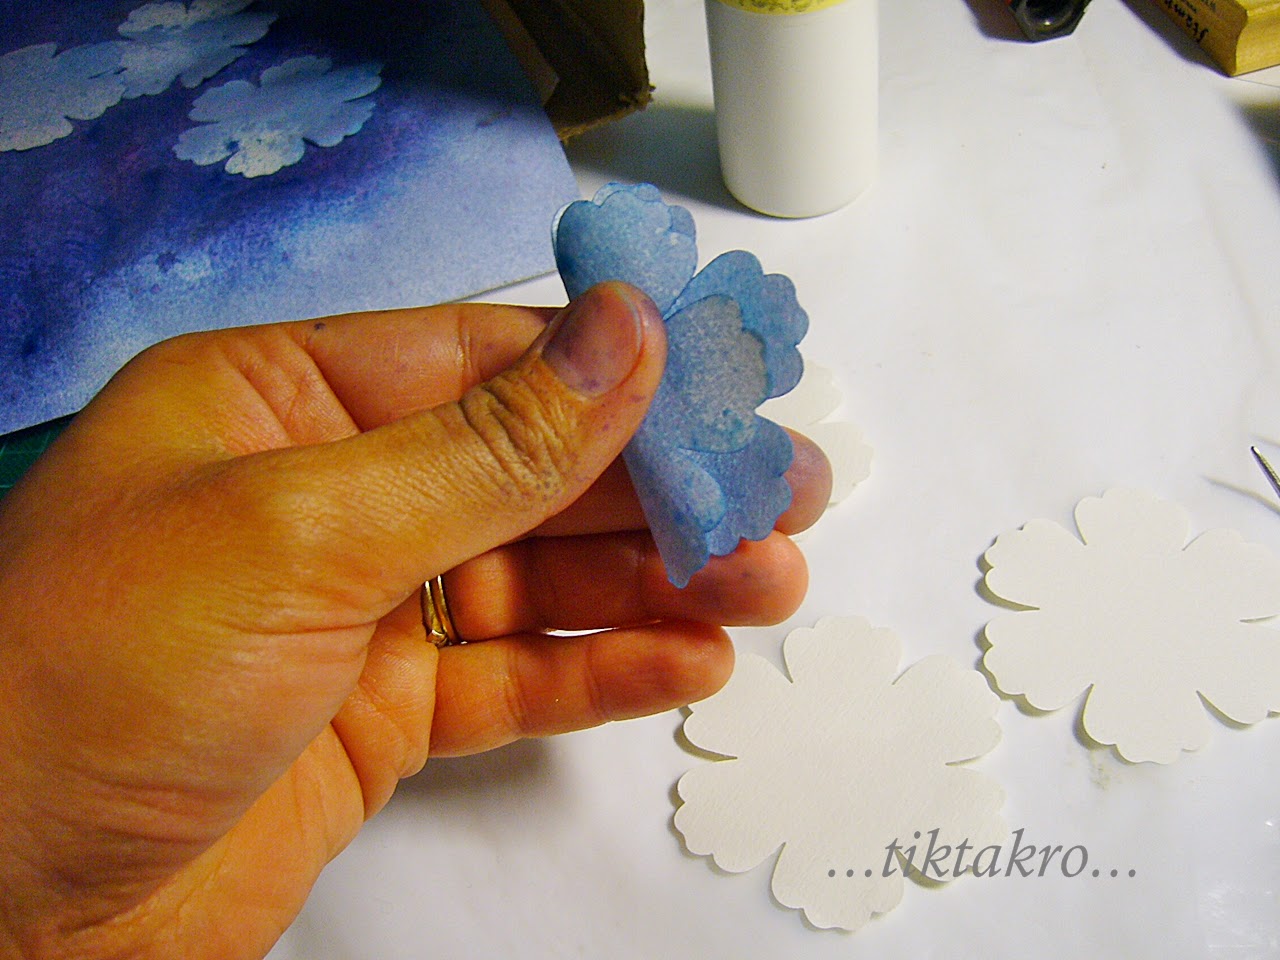
With them still damp, start folding, once, twice , three times. You'll get it quite quickly how to fold, holding the paper in you hands. Now you'll understand why I get blue fingers. LOL.
I'll keep in mind to use some doctor gloves next time . Hope to remember....
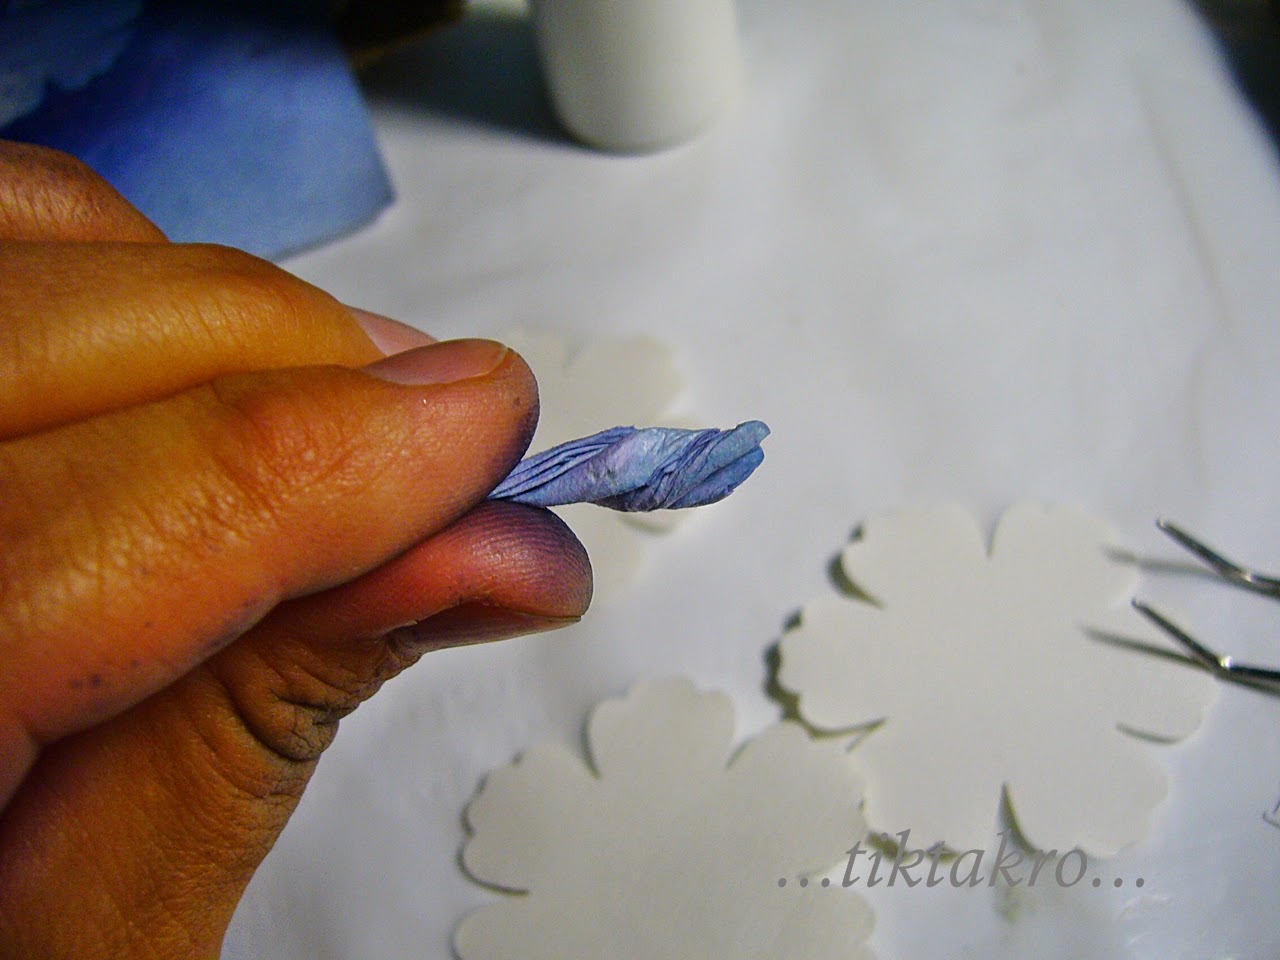
When you get to have just one petal by folding, start crumpling it between your fingers. Like so :
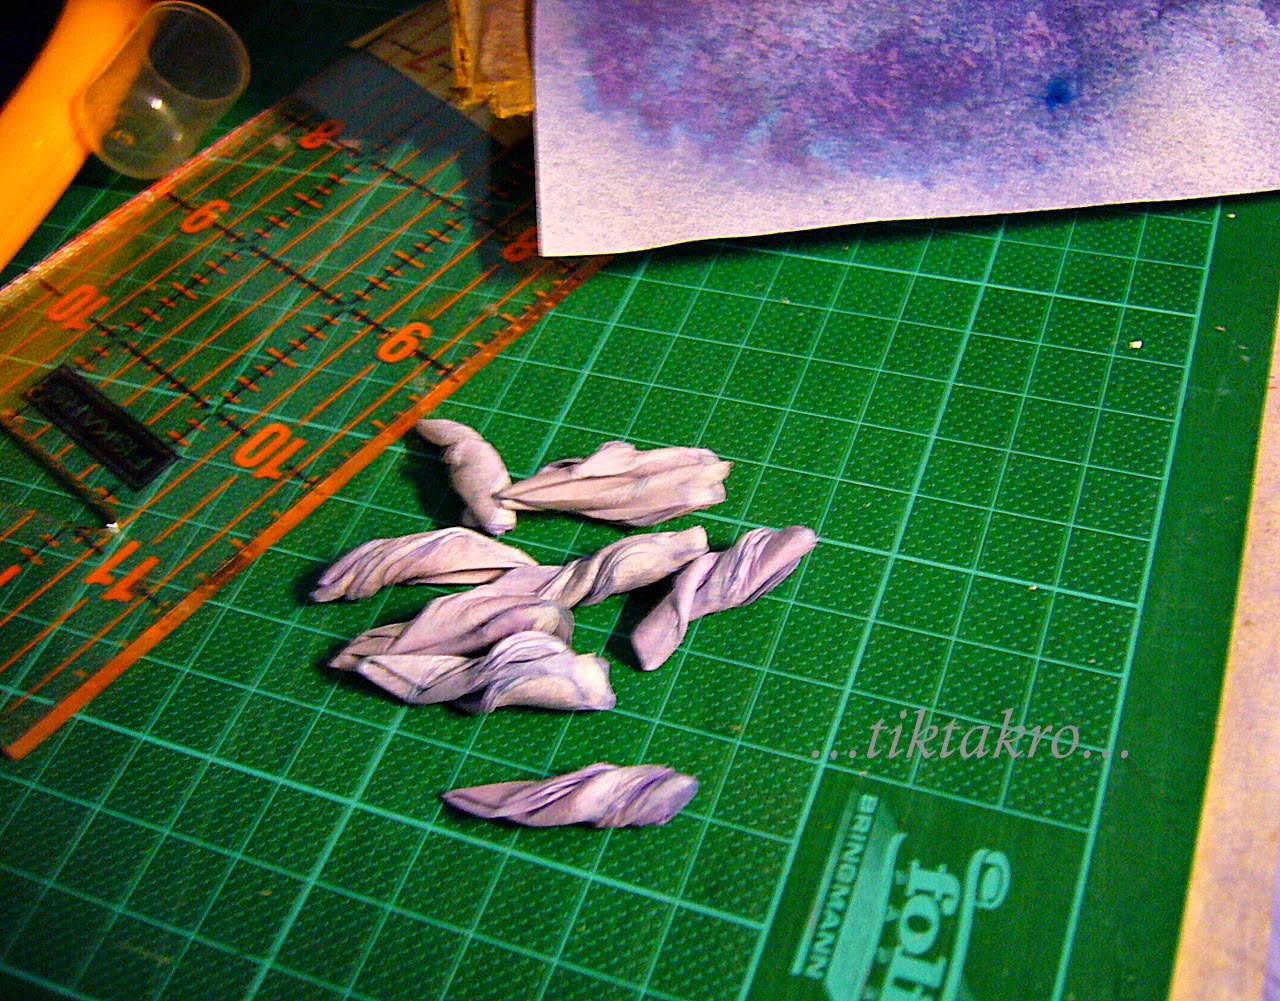
Then dare more : twist it ! Carefully to not break the paper, it is still wet.
Let them dry completely as they are , twisted.
They will dry slowly, don't rush them or you can get all wrong.
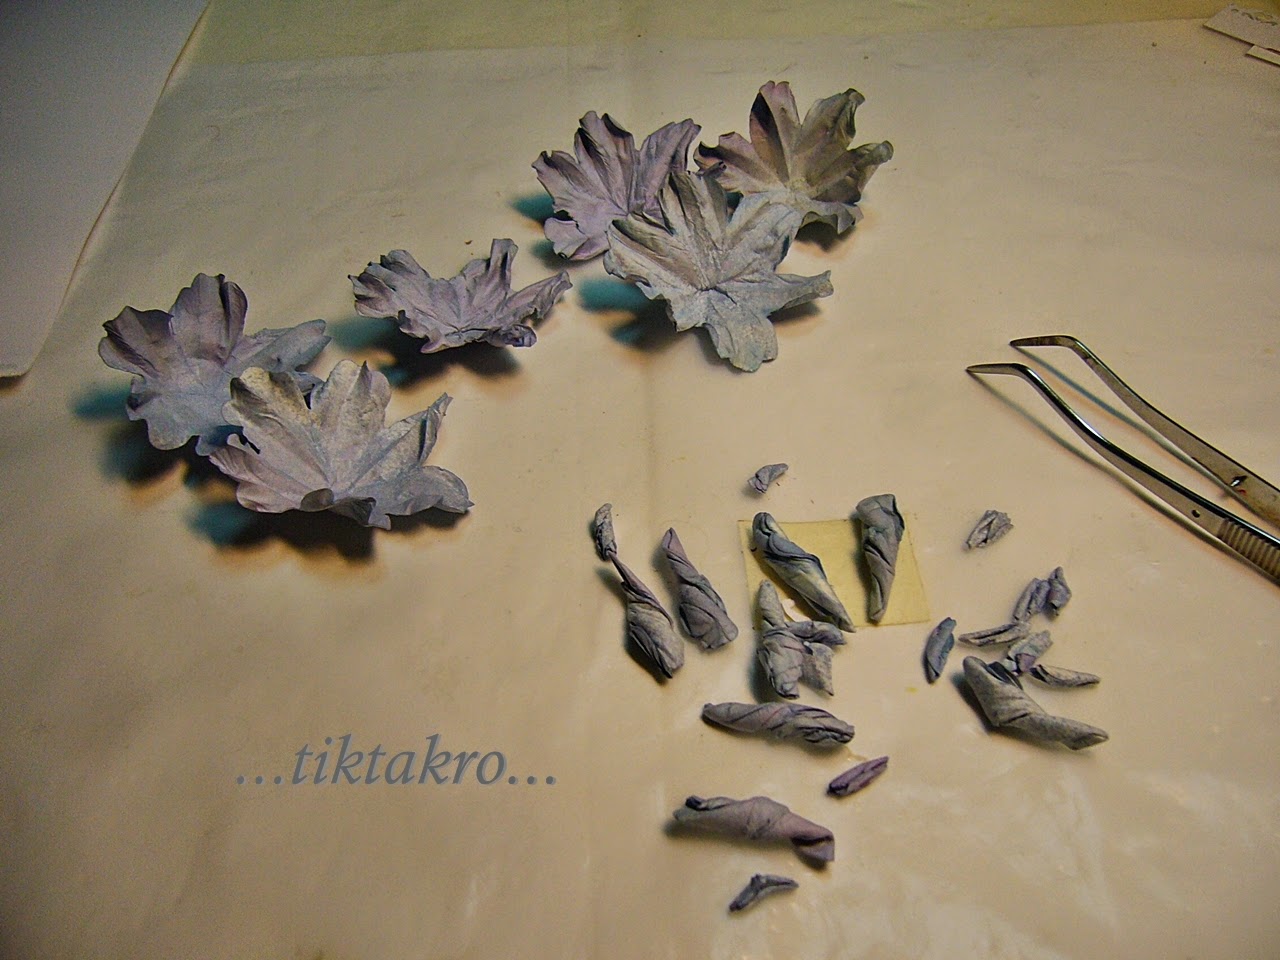
Once they are completely dry and crispy, start unfolding them with great care. Try not to flatten too much the pieces, you want to achieve a crumpled/wrinkled look.
With the help of a scoring tool and some tweezers start layering them as you pleased. The opened one on the base layer, the others up. Put some strong wet glue between the layers to keep them all secure .
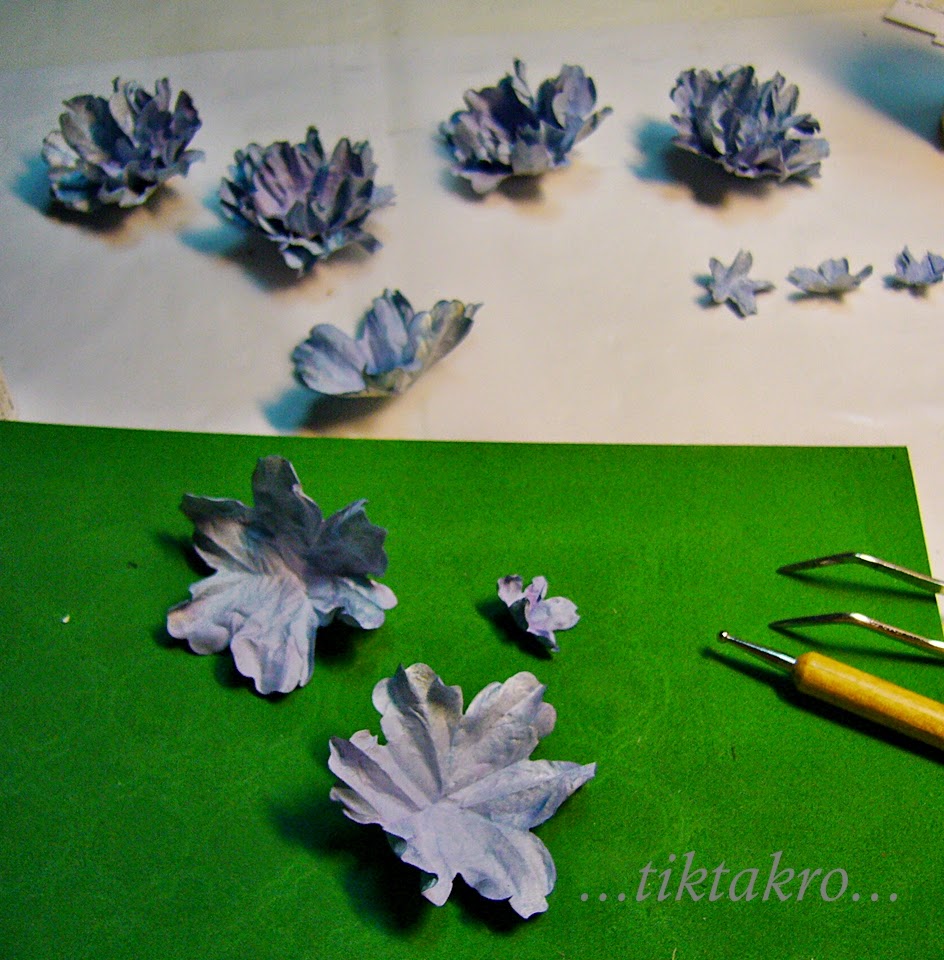
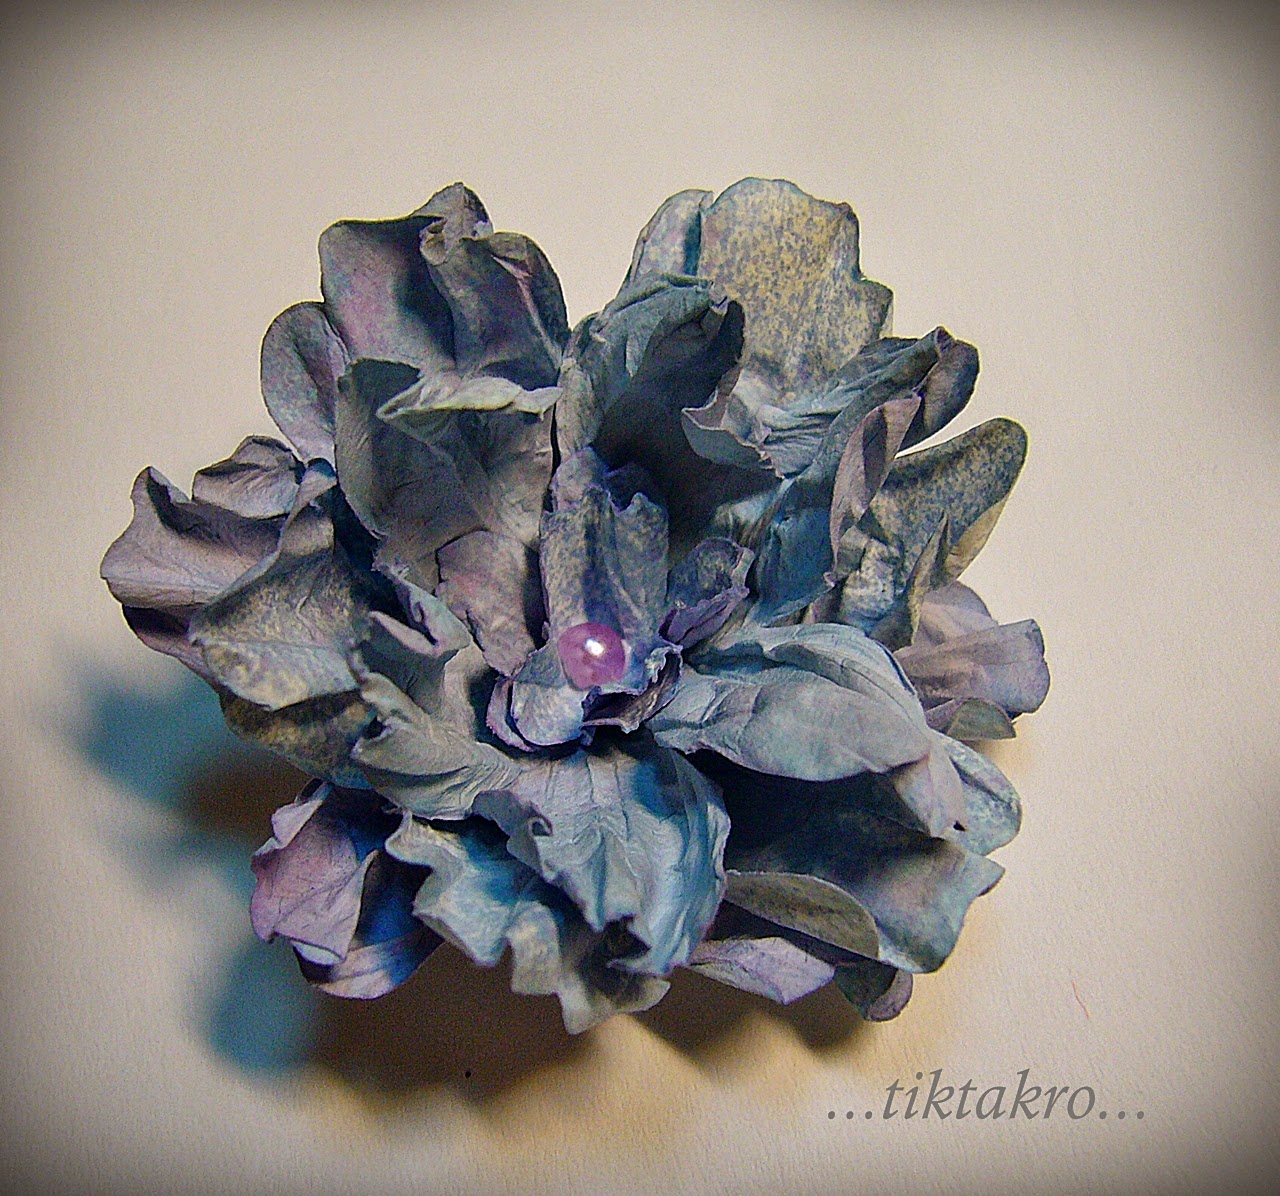
You can add in the middle a smaller shape worked in the same manner . The fuller, the beautiful . Like this :
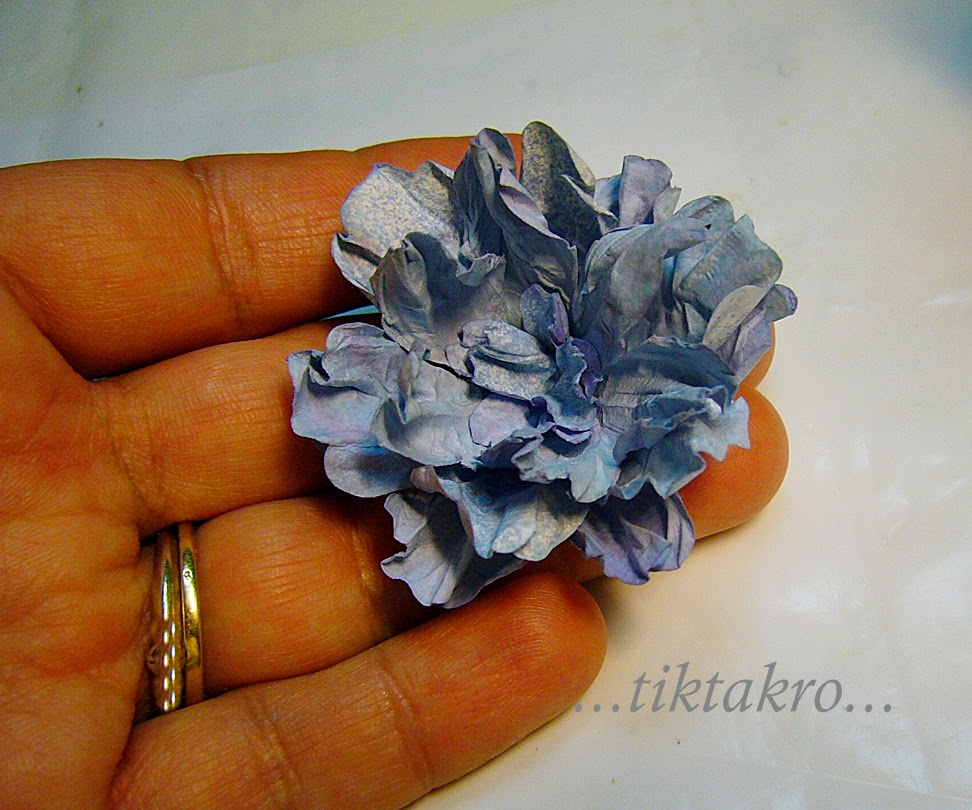
A small pearl in the center makes it finished. Or you can add something else : a button, some paper-flakes, small beads glued together, anything you fancy. I prefer simple with one pearl.
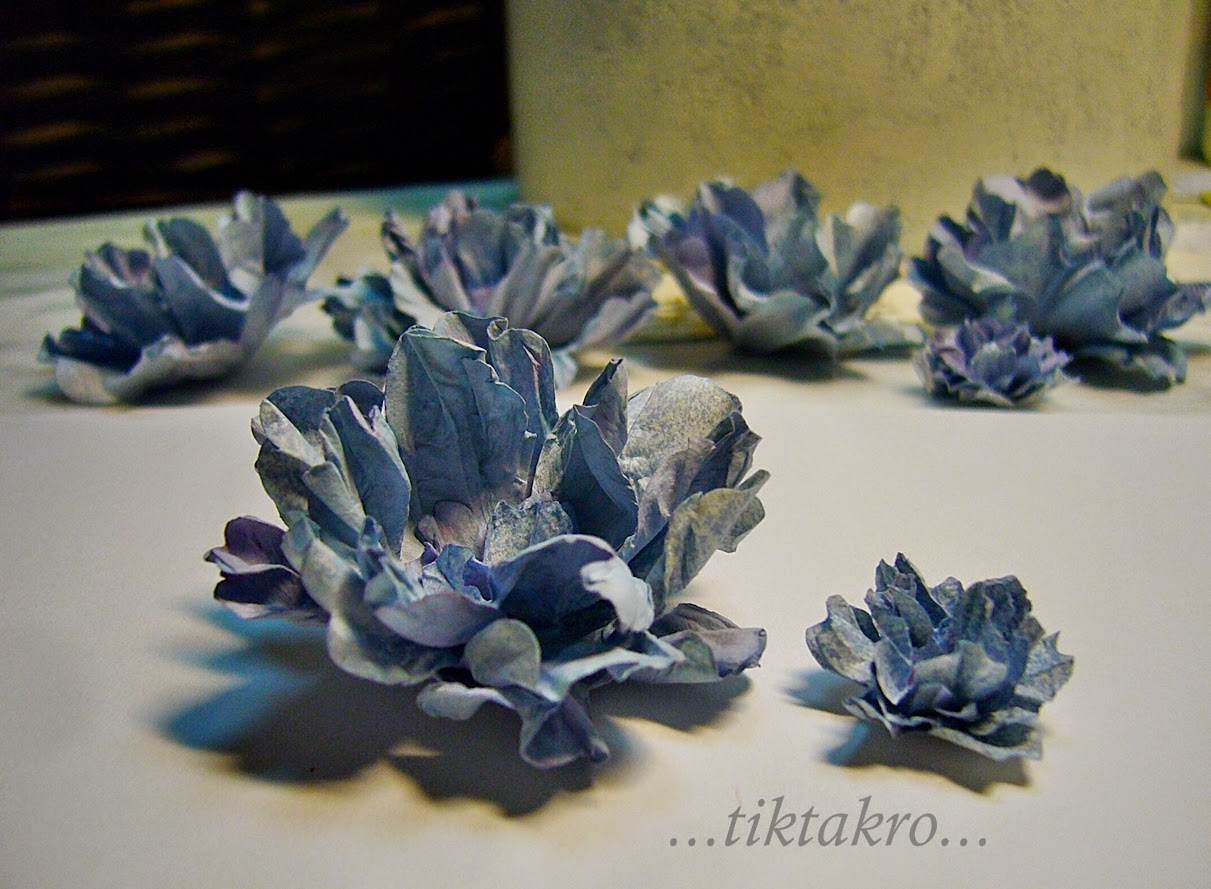
Cut and work from the beginning many punched shapes so you'll have in the end several flowers. Of course, you can make small flowers in the same manner with a smaller punch. The smaller, the painstaking. LOL.
Now that you have a beautiful crumpled flower, you should put it on something, no ?
I made a box, I think I felt in love with small, cute boxes. Candies boxes. Or candy boxes ? :D
Did I sparkle your desire for making such a flower ? if yes, will you show me your result ? I'll be more than happy to get some feedback from you.
e superba floarea ta ,multumim pt amabilitateTeo.trebuie sa pun blogul tau la favorite .
ReplyDeleteMa bucur ca iti place. Abia astept sa vad una iesita din mainile tale . Spor sa ai !
Deletearata intr.un maaare fel floricelele tale!!!
ReplyDeleteCat de mult imi placeee.Multumim tare frumos pentru turorial
ReplyDeleteArată foarte frumos! :D Perforatorul de unde l-ați luat?
ReplyDeleteThis comment has been removed by the author.
DeleteSunt superbe floricelele ! :)
ReplyDelete